
Exporting historical data from Microsoft 365 must be done in a specific order to ensure it can be imported into Mail Assure.
Requirements
- You must have access to an account with the Microsoft Global Administrator permissions with the eDiscovery Manager Role assigned
- If you do not have the eDiscovery Manager Role, follow the steps below
- Access to the Content Search feature
- A third-party tool to convert .pst files to .eml format
Step 1: Apply eDiscovery Manager Role
- Log in to Microsoft 365 Admin Center using an account with Global Administrator permissions
- In the menu, navigate to Compliance > Compliance Admin Center or go directly there by visiting https://compliance.microsoft.com/ and logging in using an account with Global Administrator permissions
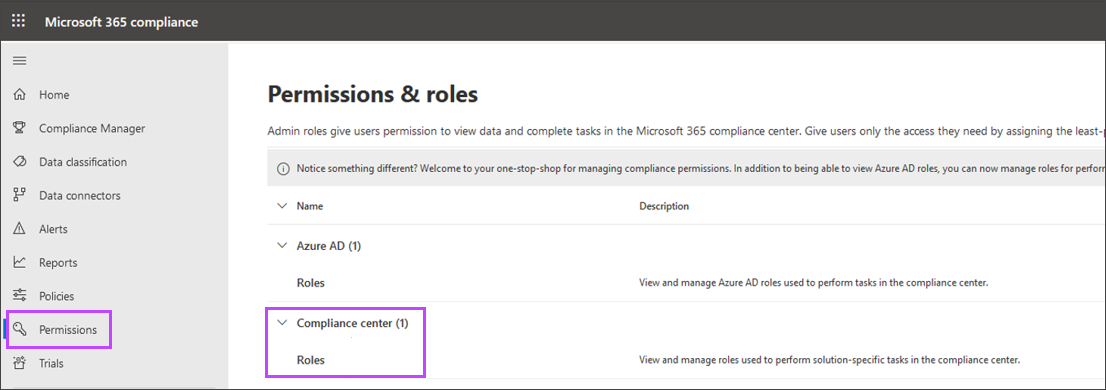
- Click Permissions
- Expand the Client Center heading
- Select Roles
- Select eDiscovery Manager
- Ensure that Export is listed under the Assigned Roles section
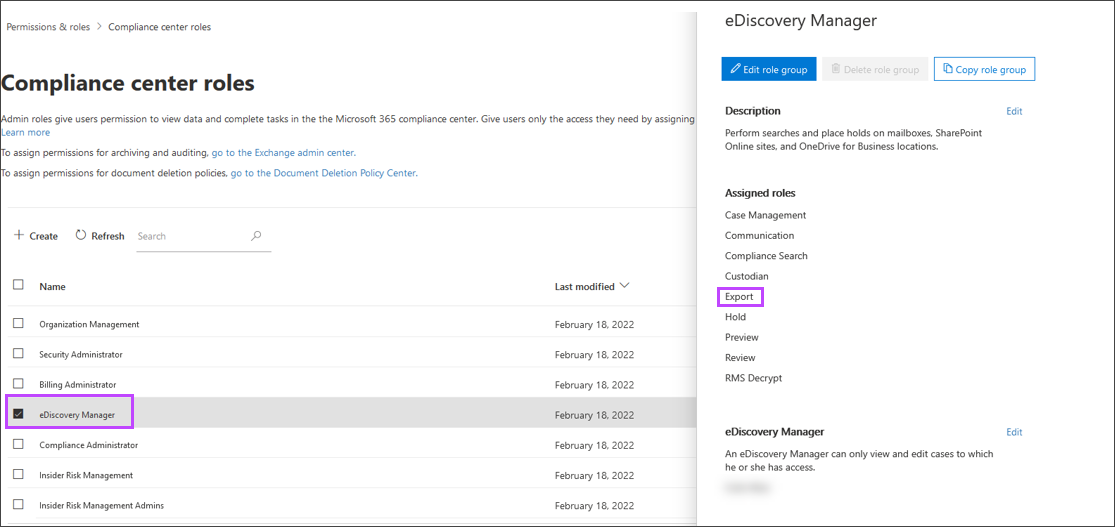
If Export is not included as an Assigned Role, add this
- Under the eDiscovery Manager section, click Edit
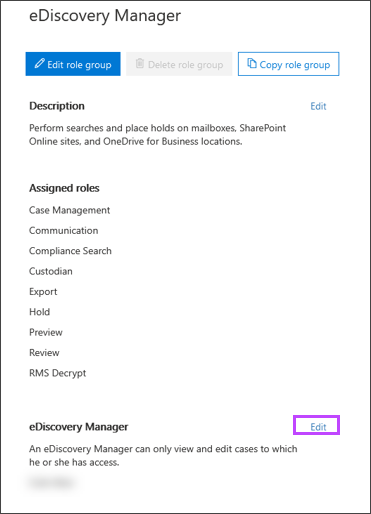
- Select Choose eDiscovery Manager
- Click + Add
- Search for the user to add
- Click Save to complete
To apply the new permissions immediately, it is recommended that the user logs out and back in before attempting to run the Content Search.
Step 2: Export data as .pst via Content Search
To export a mailbox and it's content out of Microsoft 365, you need to follow :
- Step 2.1: Create a content search that will collect all of the mail for the specified user
- Then Step 2.2: Export as a PST file using the eDiscovery Export Tool
It is recommended to use the Microsoft Edge browser to complete the below steps as this is the only one that natively supports the download of the eDiscovery Export Tool.
Browser extensions are available for Chrome and Firefox that allow you to download the eDiscovery Export Tool. These can be found:
Step 2.1: Create a content search
- On the left-hand menu, navigate to Solutions > Content Search
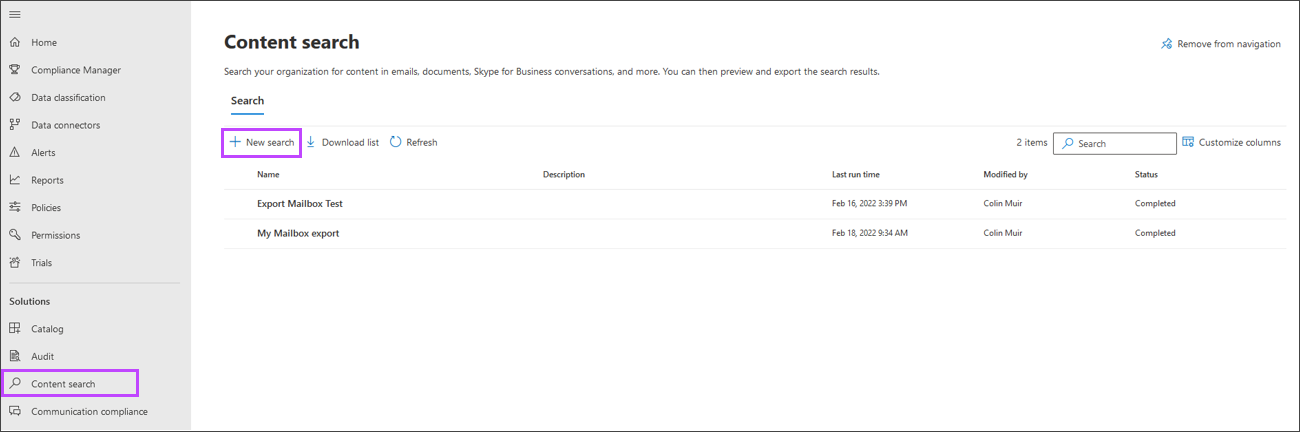
- Click New Search at the top of the page
- Enter a recognizable name and description
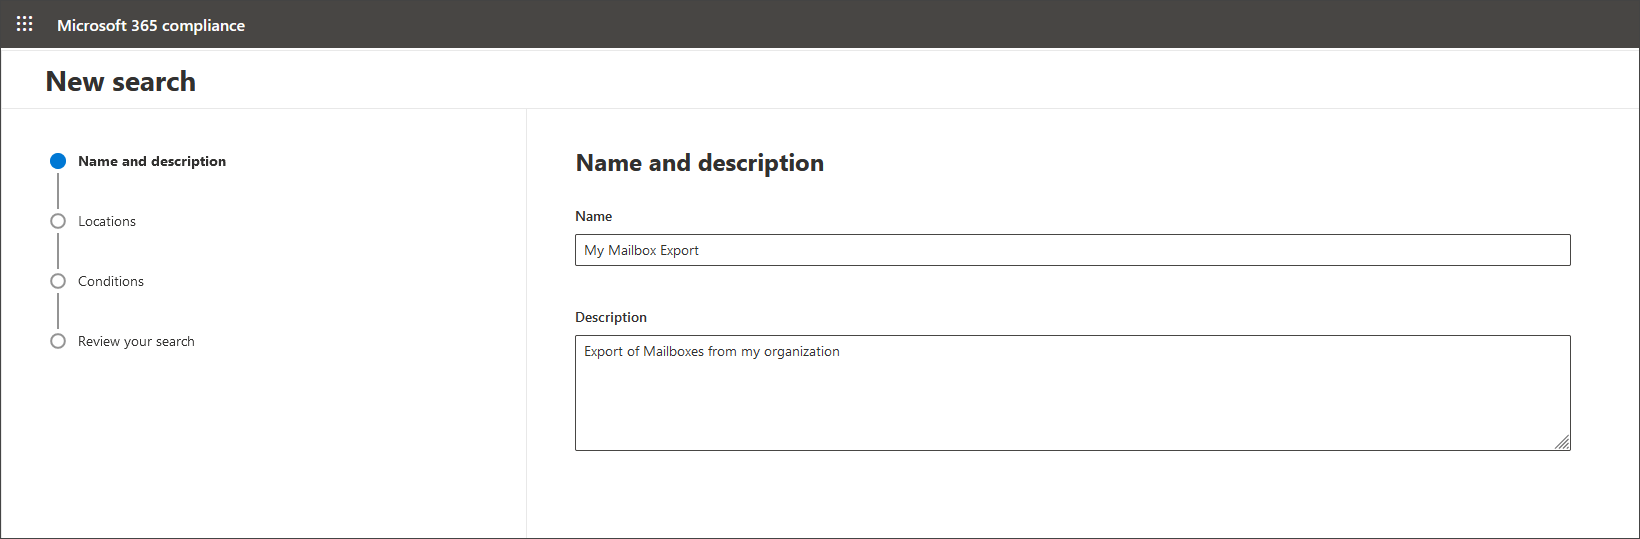
- Click Next
- On the Locations page, under the Specific Locations, toggle Exchange Mailboxes ON
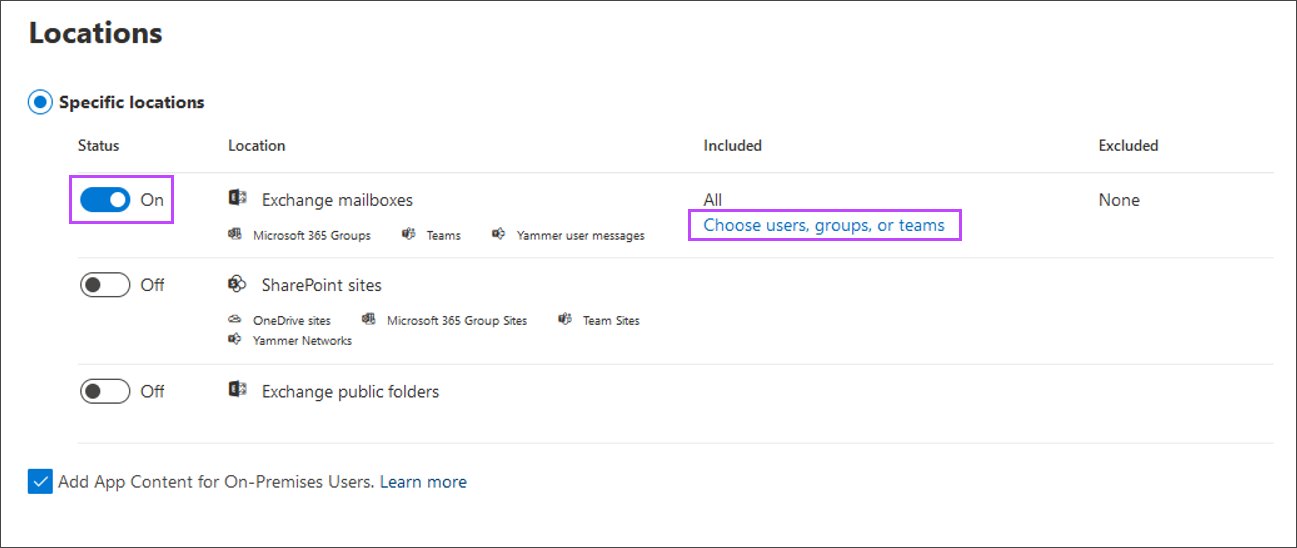
- Click Choose users, groups, or Teams
- Select the mailbox to export by searching or selecting from the list
- Click Done
- Click Next to continue to the Conditions page
- Leave the Conditions empty and click Next
- Review the Content Search

- Click Submit to begin
- Then Select Done to close the New Search window
The Content search will now run. The length of time this takes will depend on the size of the mailbox.
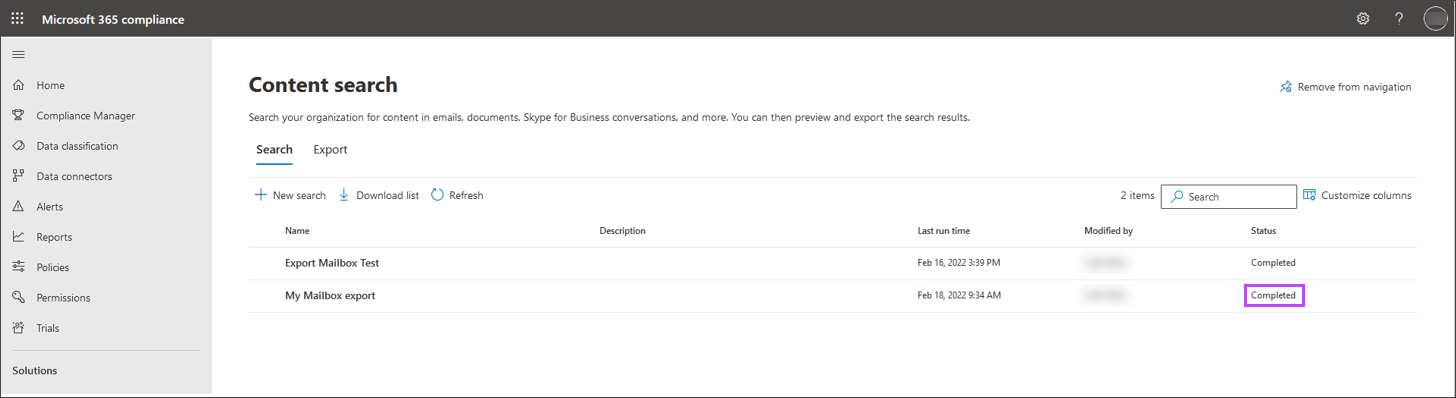
The status will change to Completed in the Content Search screen.
Step 2.2: Export as a PST
To export Microsoft 365 mailbox data:
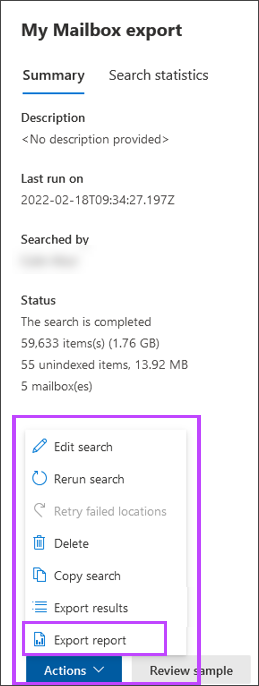
- Click on the completed Content Search that was created above
- In the panel that appears to the right-hand side, click the Actions menu
- Select Export Results
- Select what and how to export the mailbox. We recommend:
- Output Options: All Items, Including ones that have unrecognized format, are encrypted, or weren't indexed for other reasons
- Export Exchange content as:
- One .pst file for each mailbox
- One .pst file containing all messages
Or
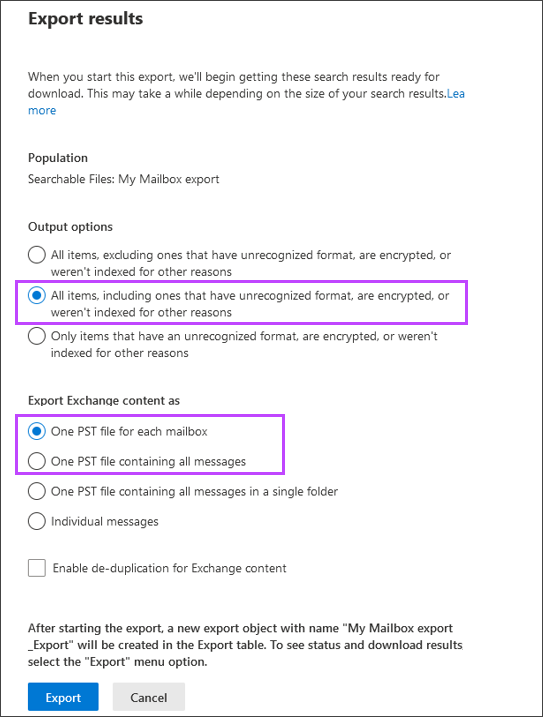
- Click Export
The Content search will now export. The length of time this takes will depend on the size of the mailbox.
- In the Content Search window, switch to the Export tab
- Select the Export job to view the status in the right-hand panel

- Click Download Results to begin the download of the eDiscovery Export Tool.

- Take a copy of the Export Key before you run the downloaded eDiscovery Export Tool
- Start the downloaded eDiscovery Export tool and provide the following information:
- Export Key
- File path of the location to store the .pst file
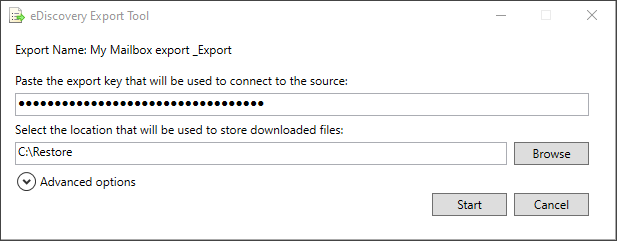
- Expand the Advanced Options section and provide a meaningful name for the .pst file so that you can find this later
- Click Start
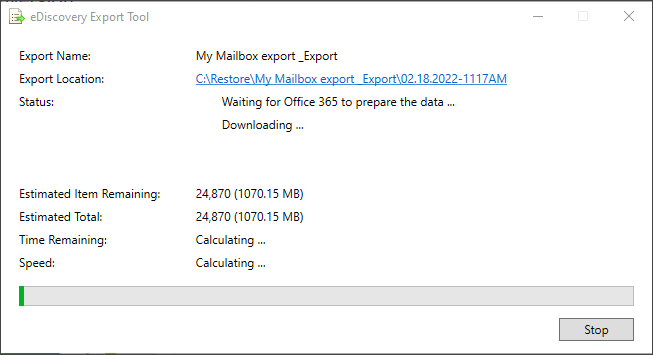
The download will now begin. The length of time this takes will depend on the size of the file.
Once the download is complete, you must convert the .pst file to .eml format using a third-party software before it can be imported into Mail Assure.